Configuring custom DNS for user portals
| 🌐 This document is available in both English and Ukrainian. Use the language toggle in the top right corner to switch between versions. |
1. Introduction
Control Plane admin console interface enables you to use custom DNS names for the public officer and citizen portals.
|
The DNS (Domain Name System) is a hierarchical and distributed naming system that converts network resource names into IP addresses. |
To set up custom DNS names for the user portals, you need to register a domain name (for example, registry.example.com) and get an SSL certificate for the domain (example.com), specific subdomain (registry.example.com), or all first-level subdomains (*.example.com).
global:
  customDNS:
    officerPortal: "officer.example.com"
    citizenPortal: "citizen.example.com"
2. Configuring DNS names for user portals
You can configure DNS names when creating a new registry or editing an existing registry. In this section, we will use editing an existing registry as an example.
To set up custom DNS names for the user portals, perform the following steps.
2.1. Selecting a registry and opening its settings
-
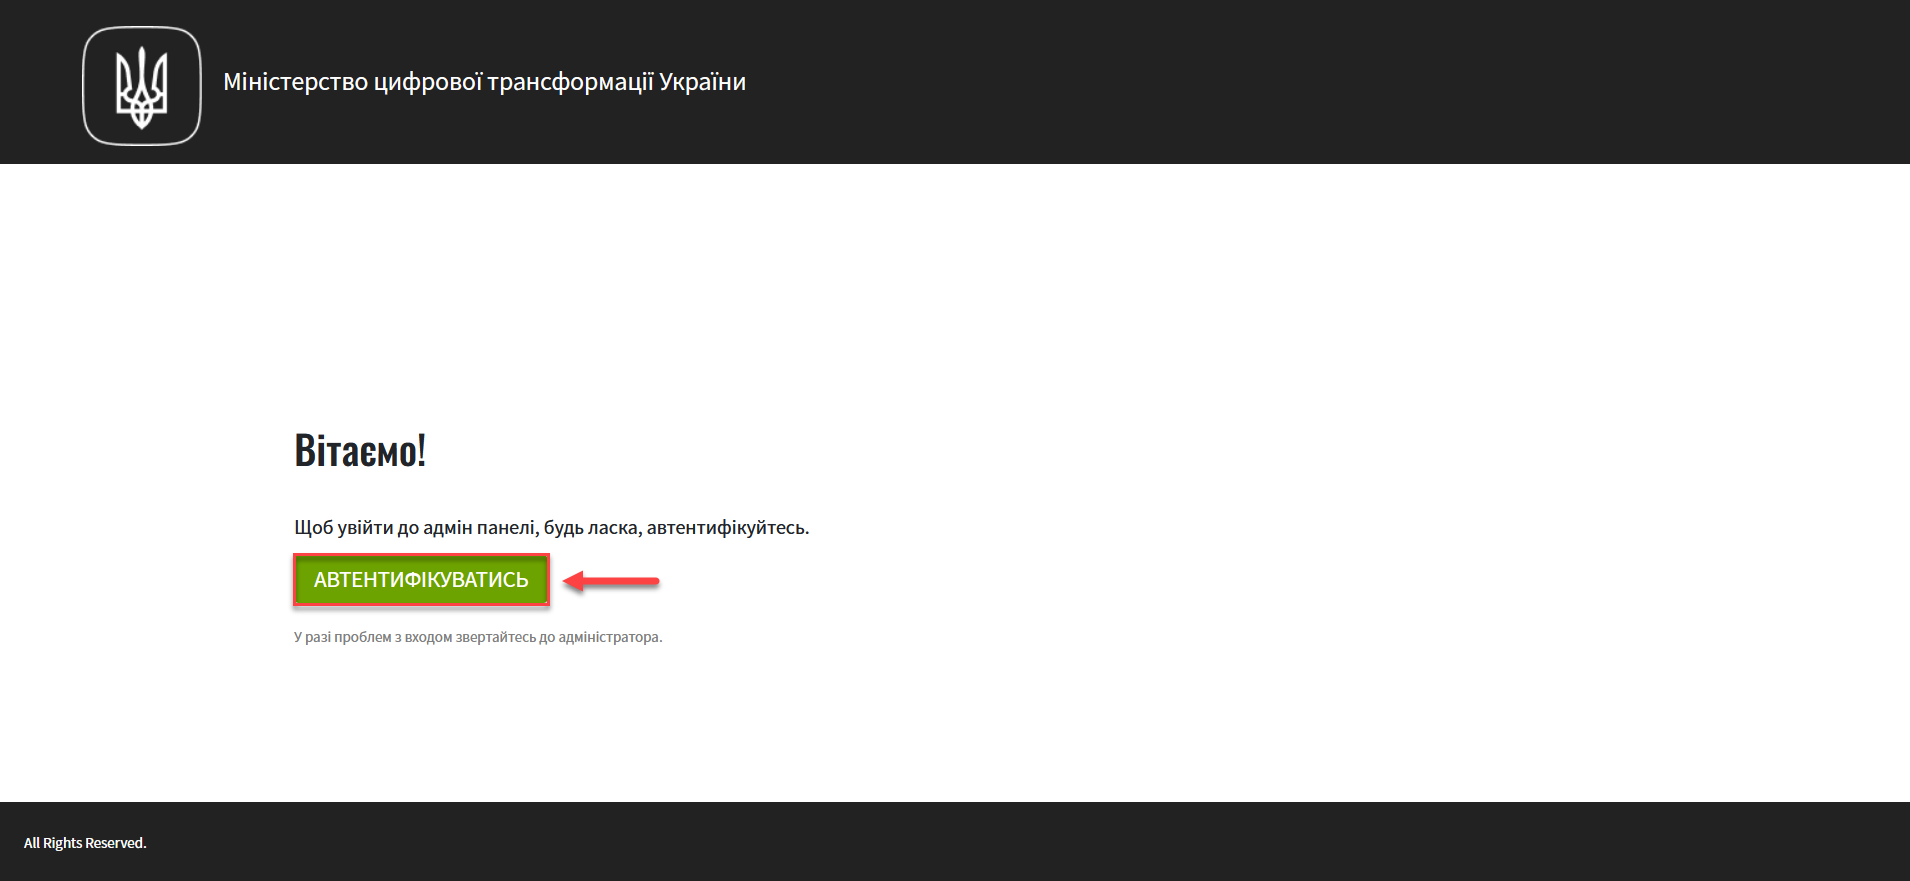
Sign in to the Control Plane admin console.
-
Open the
Registriessection and select the registry for which you wish to configure the DNS name.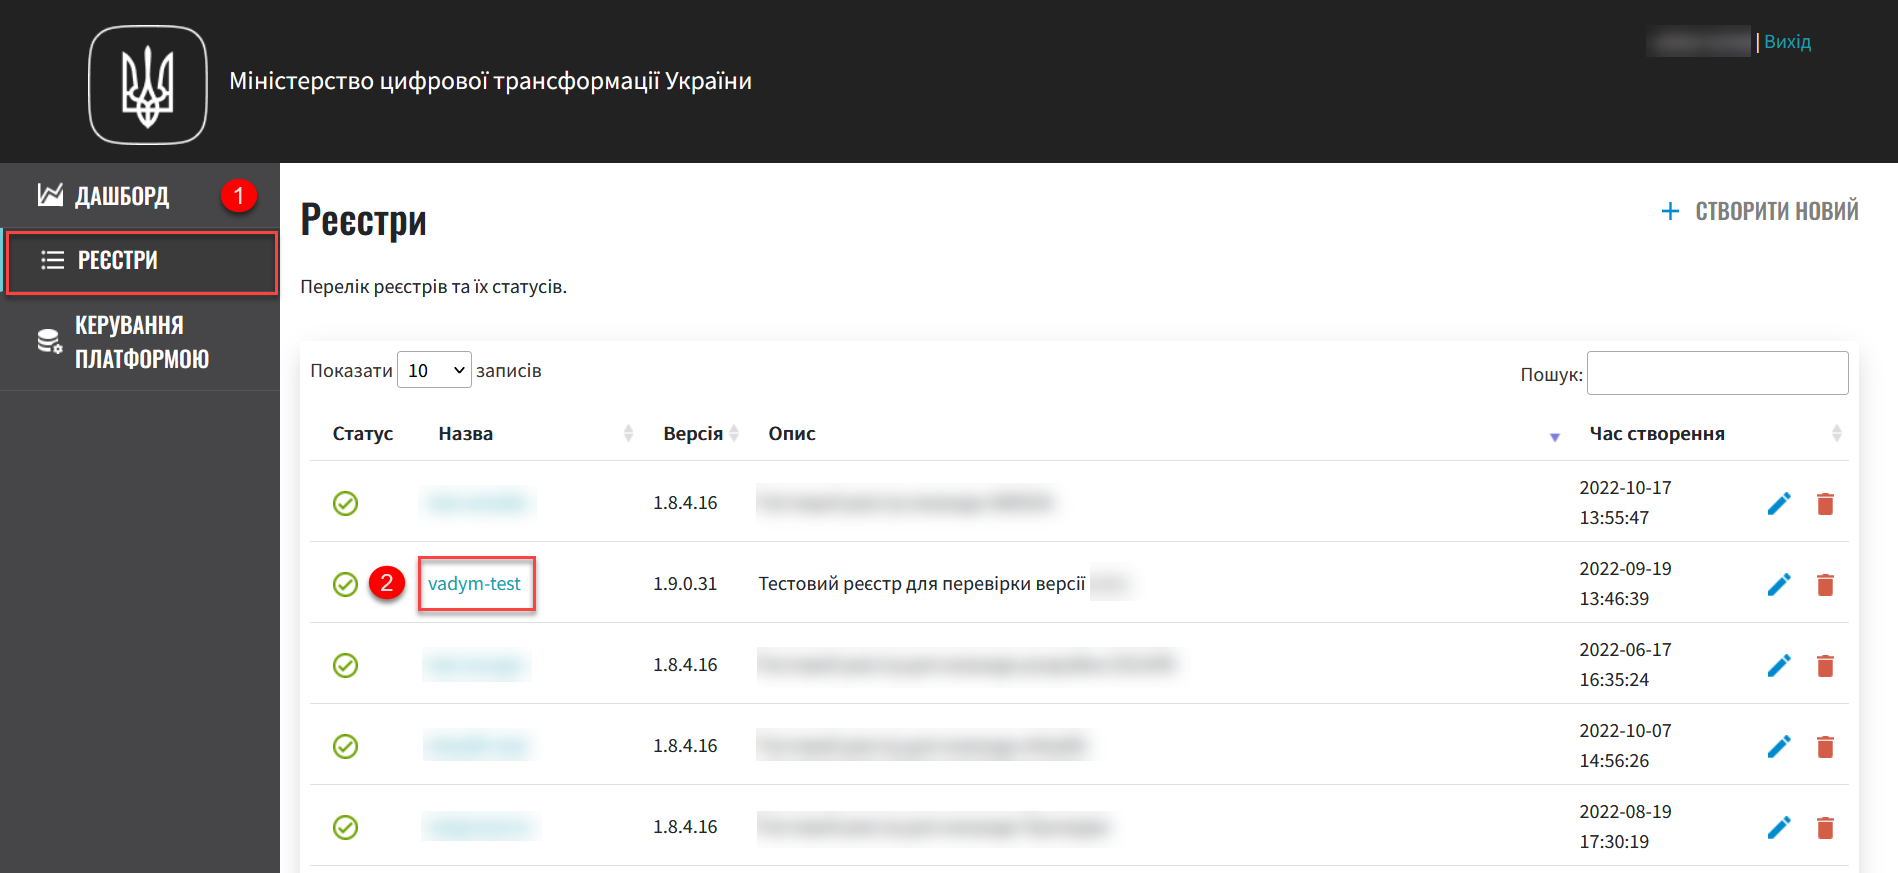
-
Click the
Editbutton in the upper-right corner.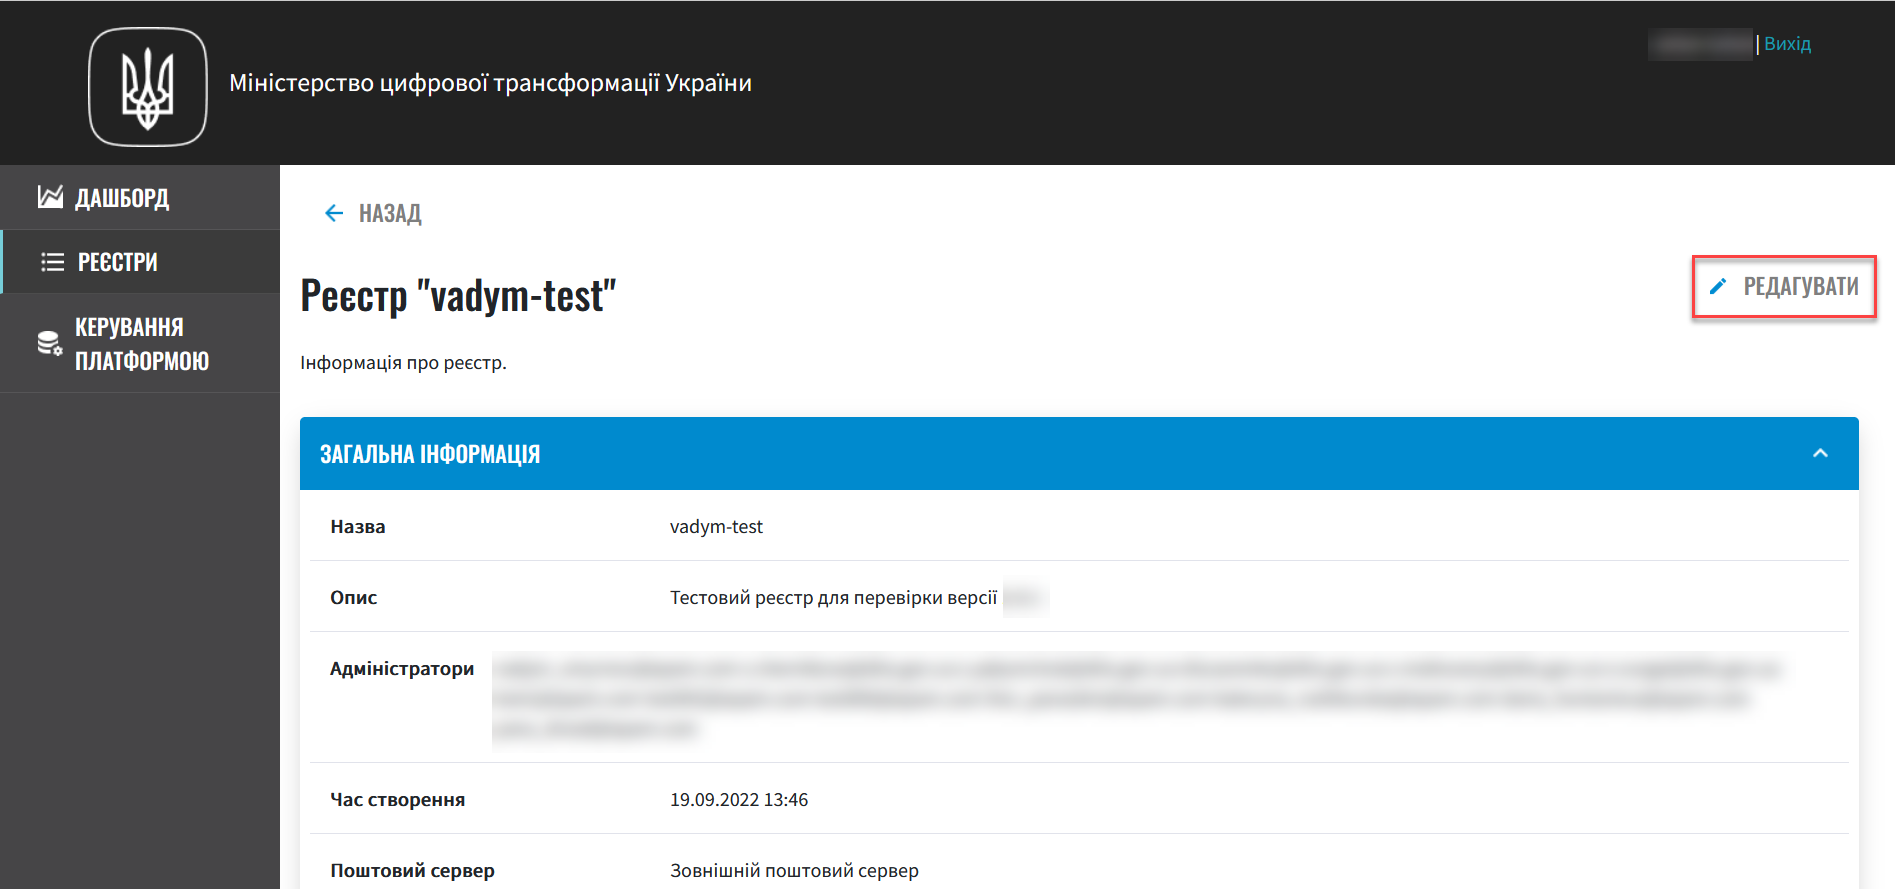
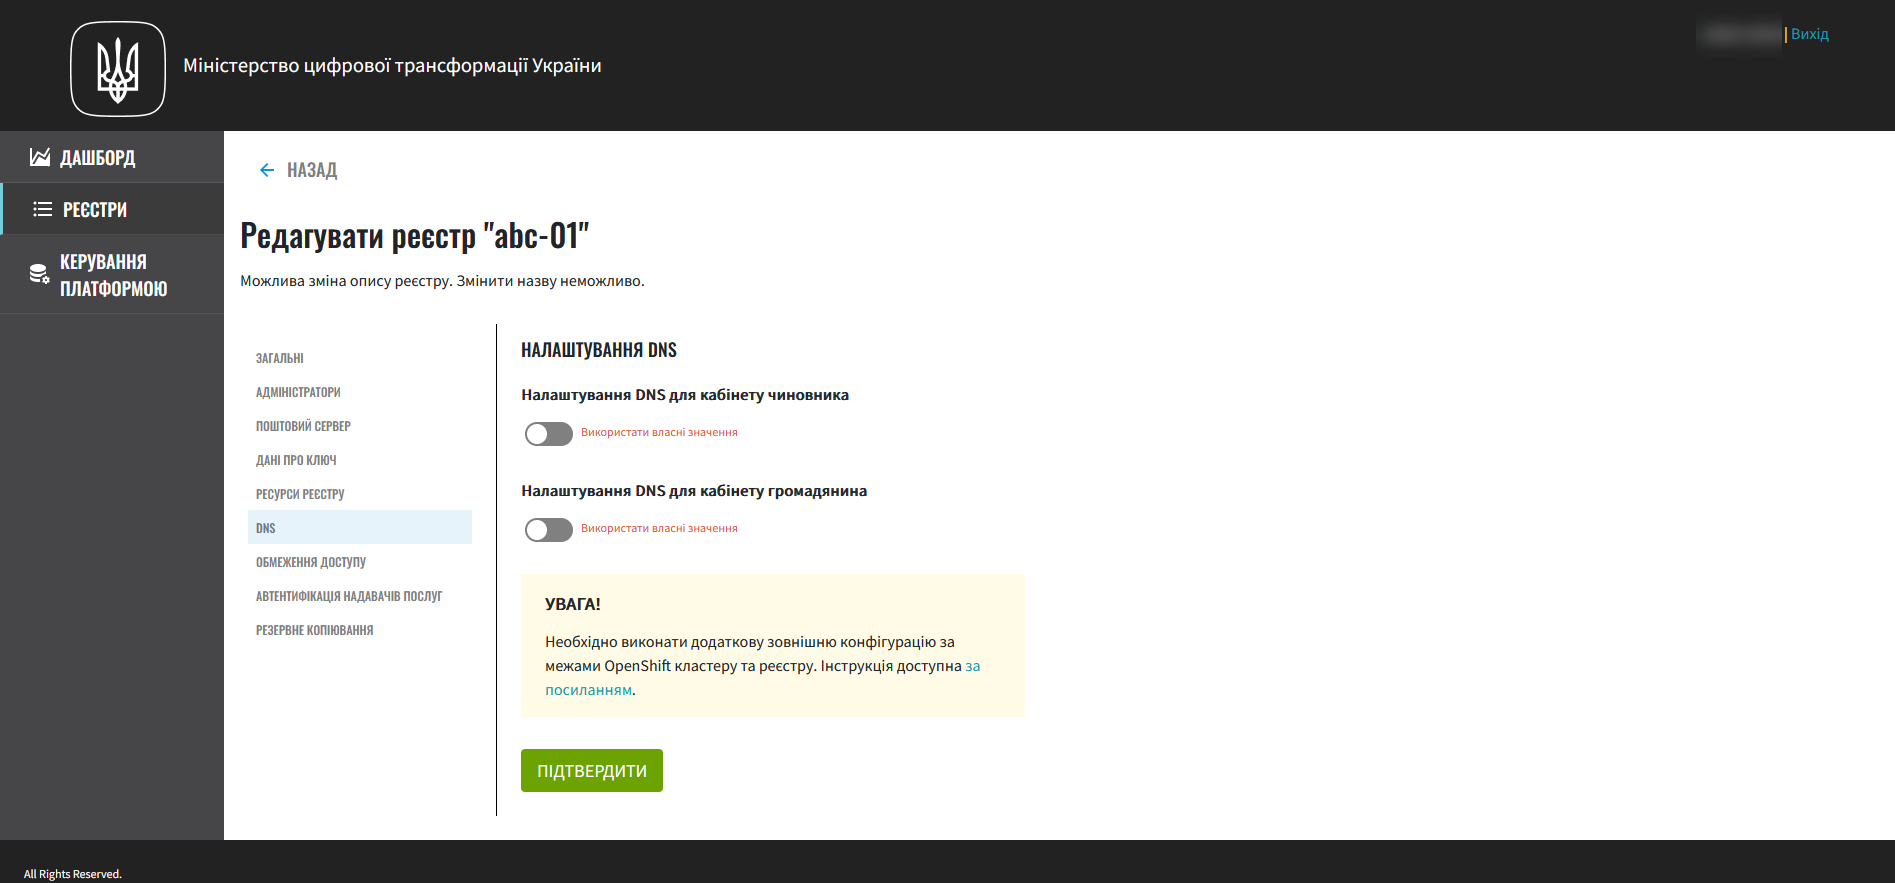
2.2. Configuring DNS names for the Officer portal
Set up a DNS name for the Officer portal:
-
Open the DNS section and turn on the Configure DNS for officer portal switch.
This feature is disabled by default. Once it is enabled and changes to the registry configuration are applied, the officer portal will be available using the new DNS name.
To restore the default setting and reset the DNS, simply turn the switch off. The next time changes to the registry are applied, the portal will revert to the default DNS name.
-
Specify the domain name to use for the officer portal. Use the following format:
officer.example.com. -
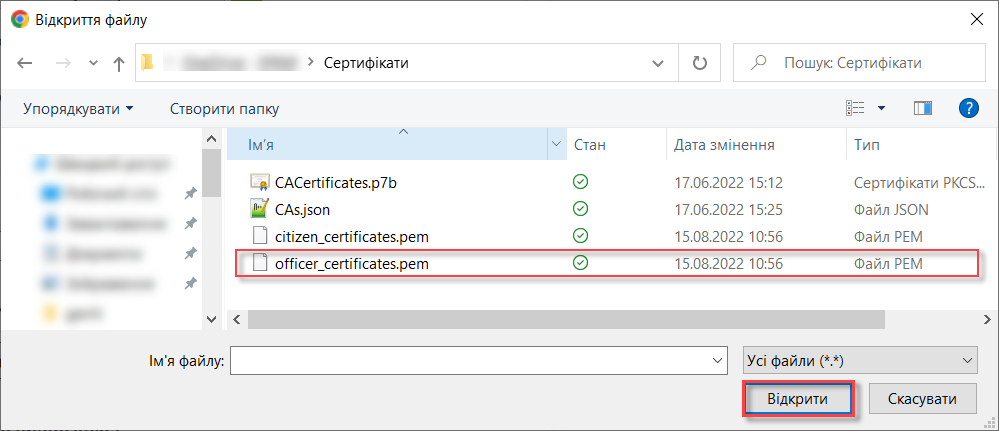
Click Browse… in the
SSL certificate for officer portal (.pem extension)field.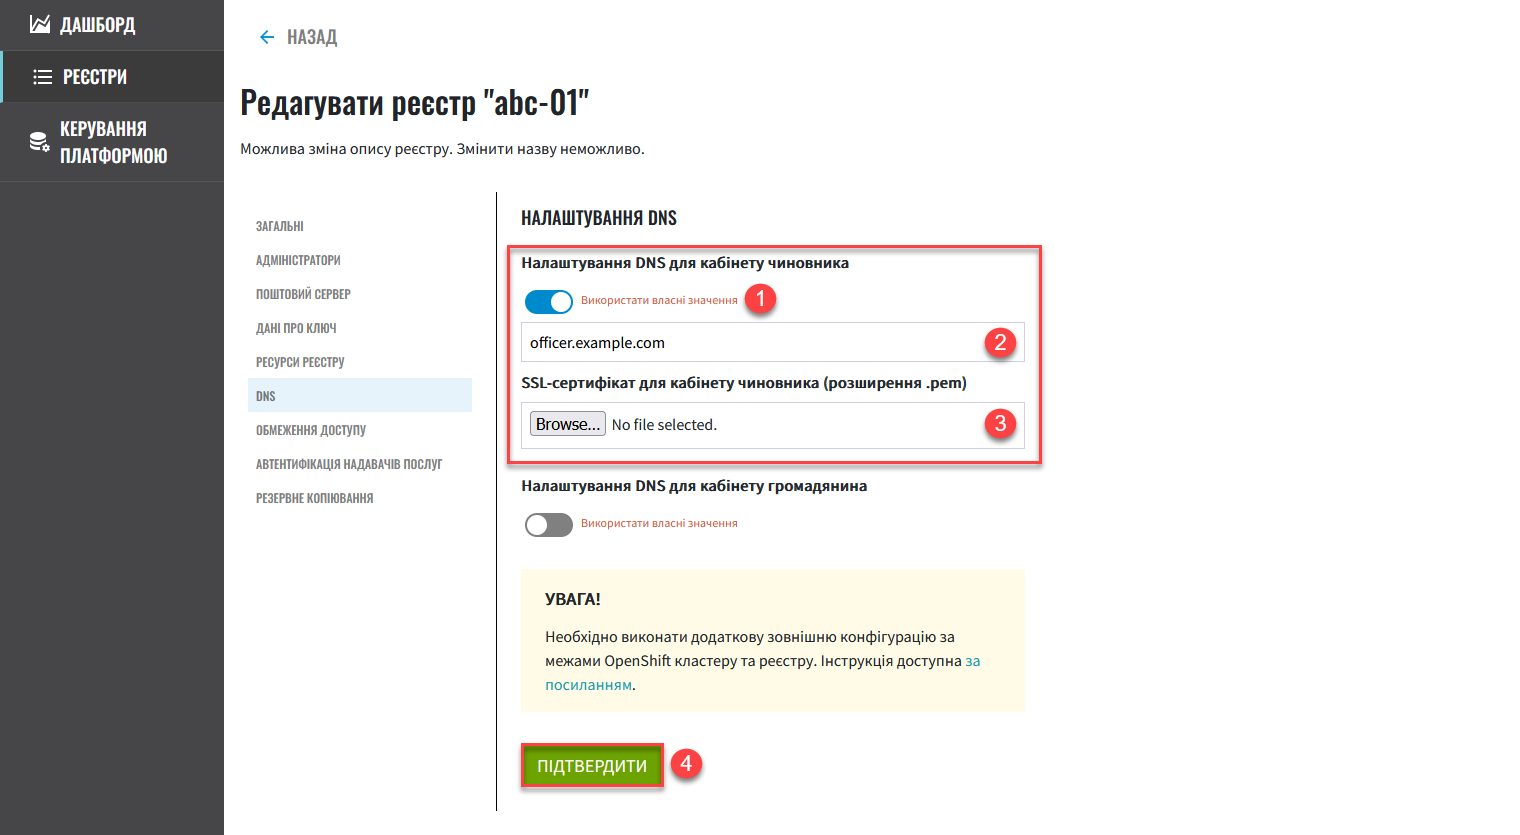
-
Browse to a corresponding certificate file with a .pem extension, select it and click Open.
-
Click Confirm to save your settings.
2.3. Configuring DNS names for the Citizen portal
Set up a DNS name for the Citizen portal:
-
Open the DNS section and turn on the Configure DNS for citizen portal switch.
This feature is disabled by default. Once it is enabled and changes to the registry configuration are applied, the citizen portal will be available using the new DNS name.
To restore the default setting and reset the DNS, simply turn the switch off. The next time changes to the registry are applied, the portal will revert to the default DNS name.
-
Specify the domain name to use for the citizen portal. Use the following format:
citizen.example.com. -
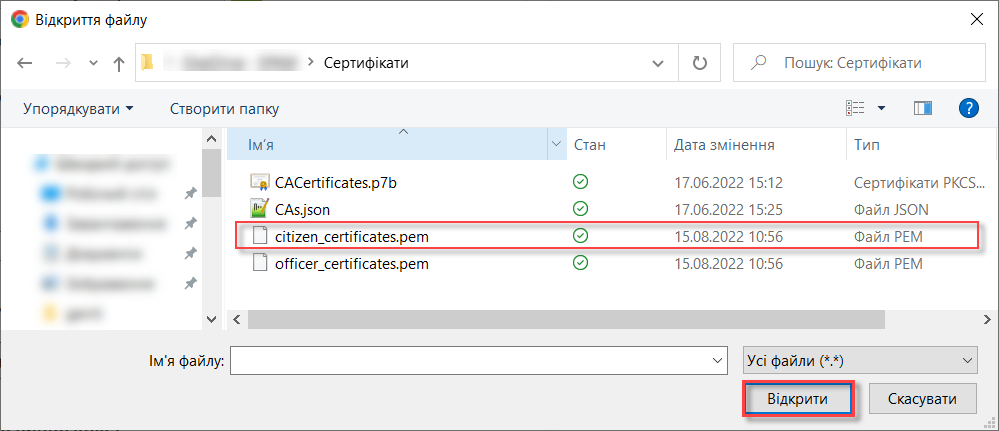
Click Browse… in the
SSL certificate for citizen portal (.pem extension)field.
-
Browse to a corresponding certificate file with a .pem extension, select it and click Open.
-
Click Confirm to save your settings.
2.4. Additional configuration outside the OpenShift cluster and registry
Perform additional configuration outside the OpenShift cluster and registry.
-
Create a
CNAMErecord with your DNS provider.This record should point to the Load Balancer bound to the OpenShift router (HAProxy). An OpenShift router domain is different for each cluster.
CNAMErecords must always point to another domain name, not an IP address.A
CNAME(Canonical Name) record is a type of DNS record that maps a domain name (alias) to a true or canonical domain name.Here is an example of a
CNAMErecord:www.example.net. CNAME www.example.com.
You can view the current CNAME records using the Google Public DNS service.
A
CNAMErecord cannot be set for apex domains (such as example.com); a subdomain must be specified (such as www.example.com). -
Please contact the technical administrator’s support service of the Platform instance through your channel and submit a request to add a new address to the test eu.iit.com.ua widget.
This functionality is specific to the Ukrainian implementation and may not apply or function as described in other contexts or regions. Please consult the local guidelines or documentation if you are implementing this outside Ukraine. The user portals become available using the configured DNS names after the external configuration takes effect.
Typically, DNS names are updated within one hour, although a global update can take up to 48 hours but in exceptional cases can last up to 72 hours.